FIRE STATIONS - EASTERN REGION
 |
 |
 |
|
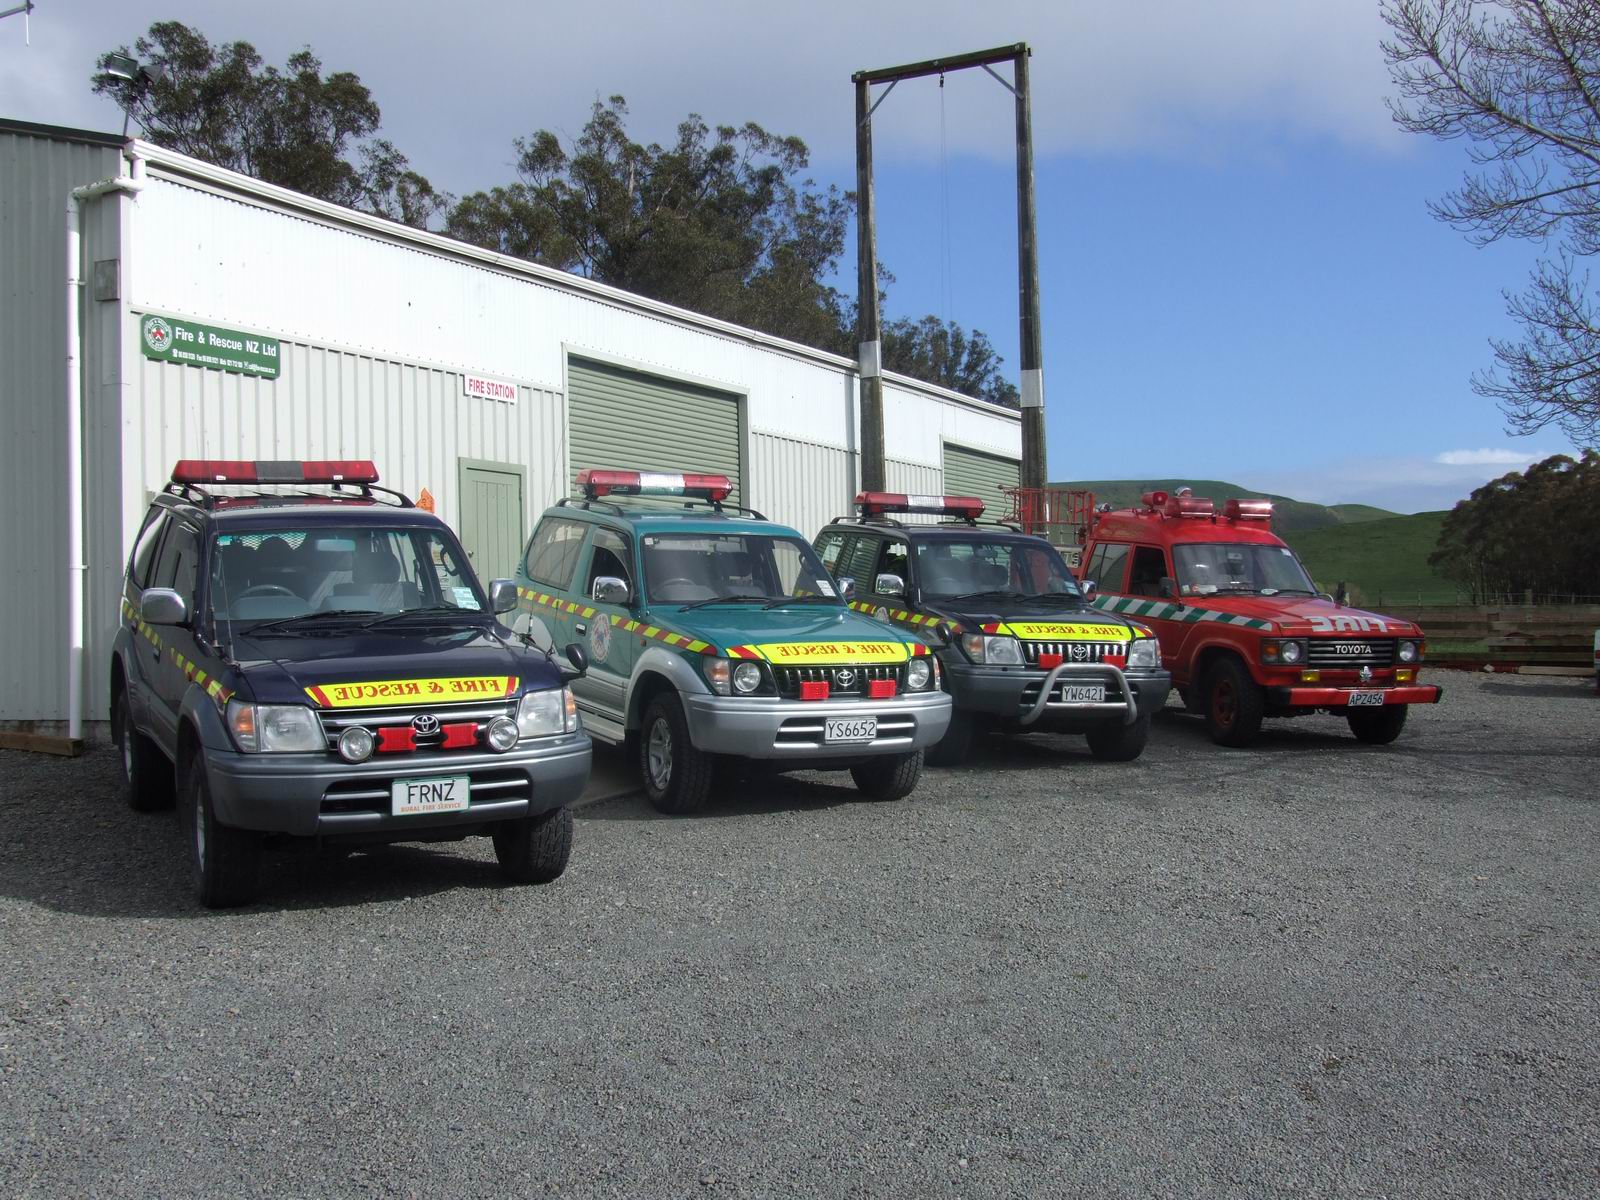
Station 41 Eketahuna Fire Station |
Station 43 Woodville Fire Station |
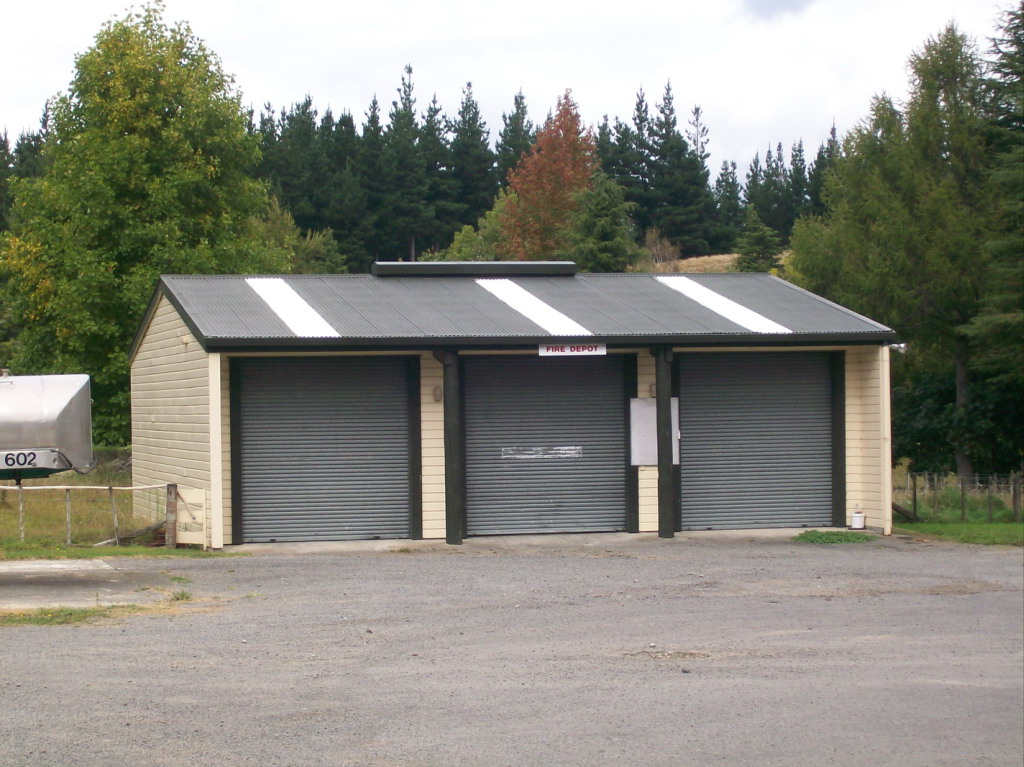
Station 44 Pongaroa Fire Station |
|
|
|
|
|
Station 45 Pahiatua Fire Station |
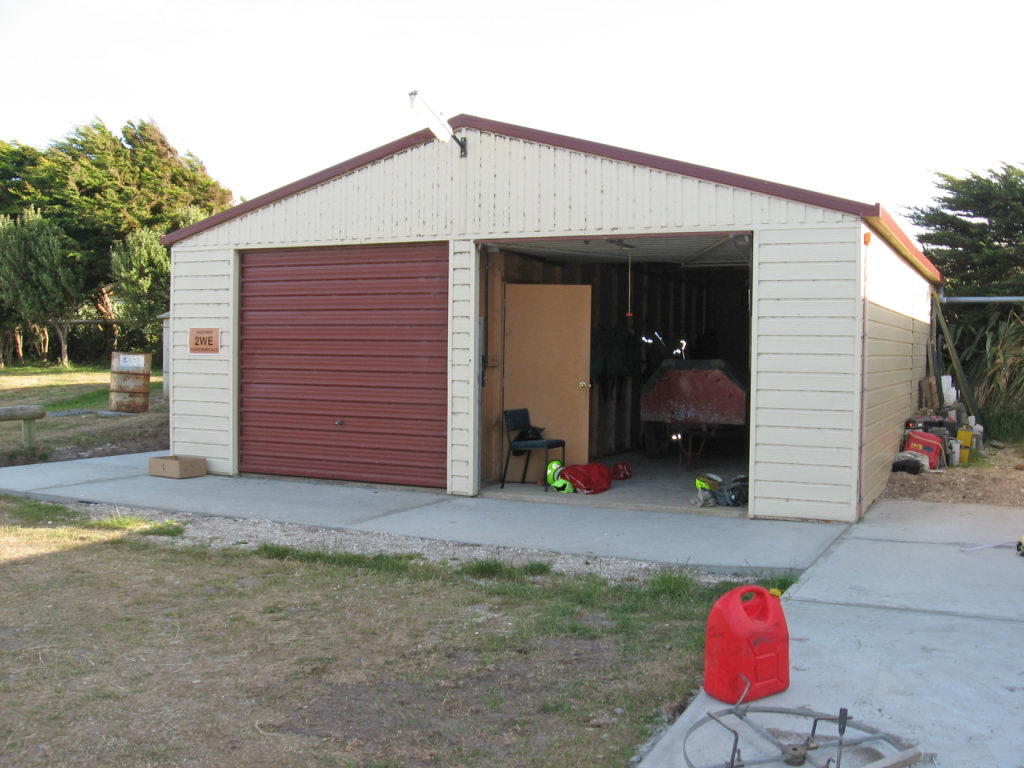
Station 46 Akitio Fire Station |
Station 50 Heretaunga Fire Station |
|
|
 |
|
|
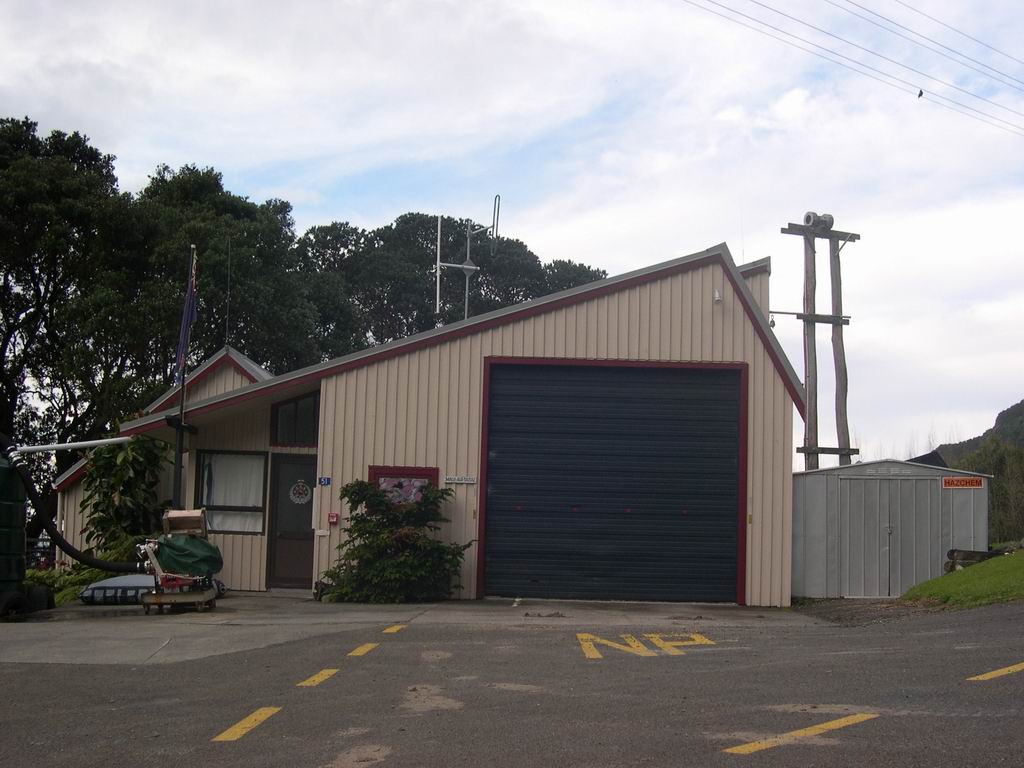
Station 51 Napier Fire Station |
Station 52 Haumoana Fire Station Photo by Brian Slader |
Station 53 Havelock North Fire Station |
|
|
|
|
|
Station 54 Bayview Fire Station |
Station 55 Taradale Fire Station |
Station 56 Hastings Fire Station |
 |
 |
 |
|
Station 57 Otane Fire Station |
Station 58 Waipukurau Fire Station Photo by Karl Mouldey |
Station 59 Porangahau Fire Station |
|
|
 |
 |
|
Station 61 Takapau Fire Station |
Station 62 Ashley Clinton Fire Station Photo donated by Grant Watson |
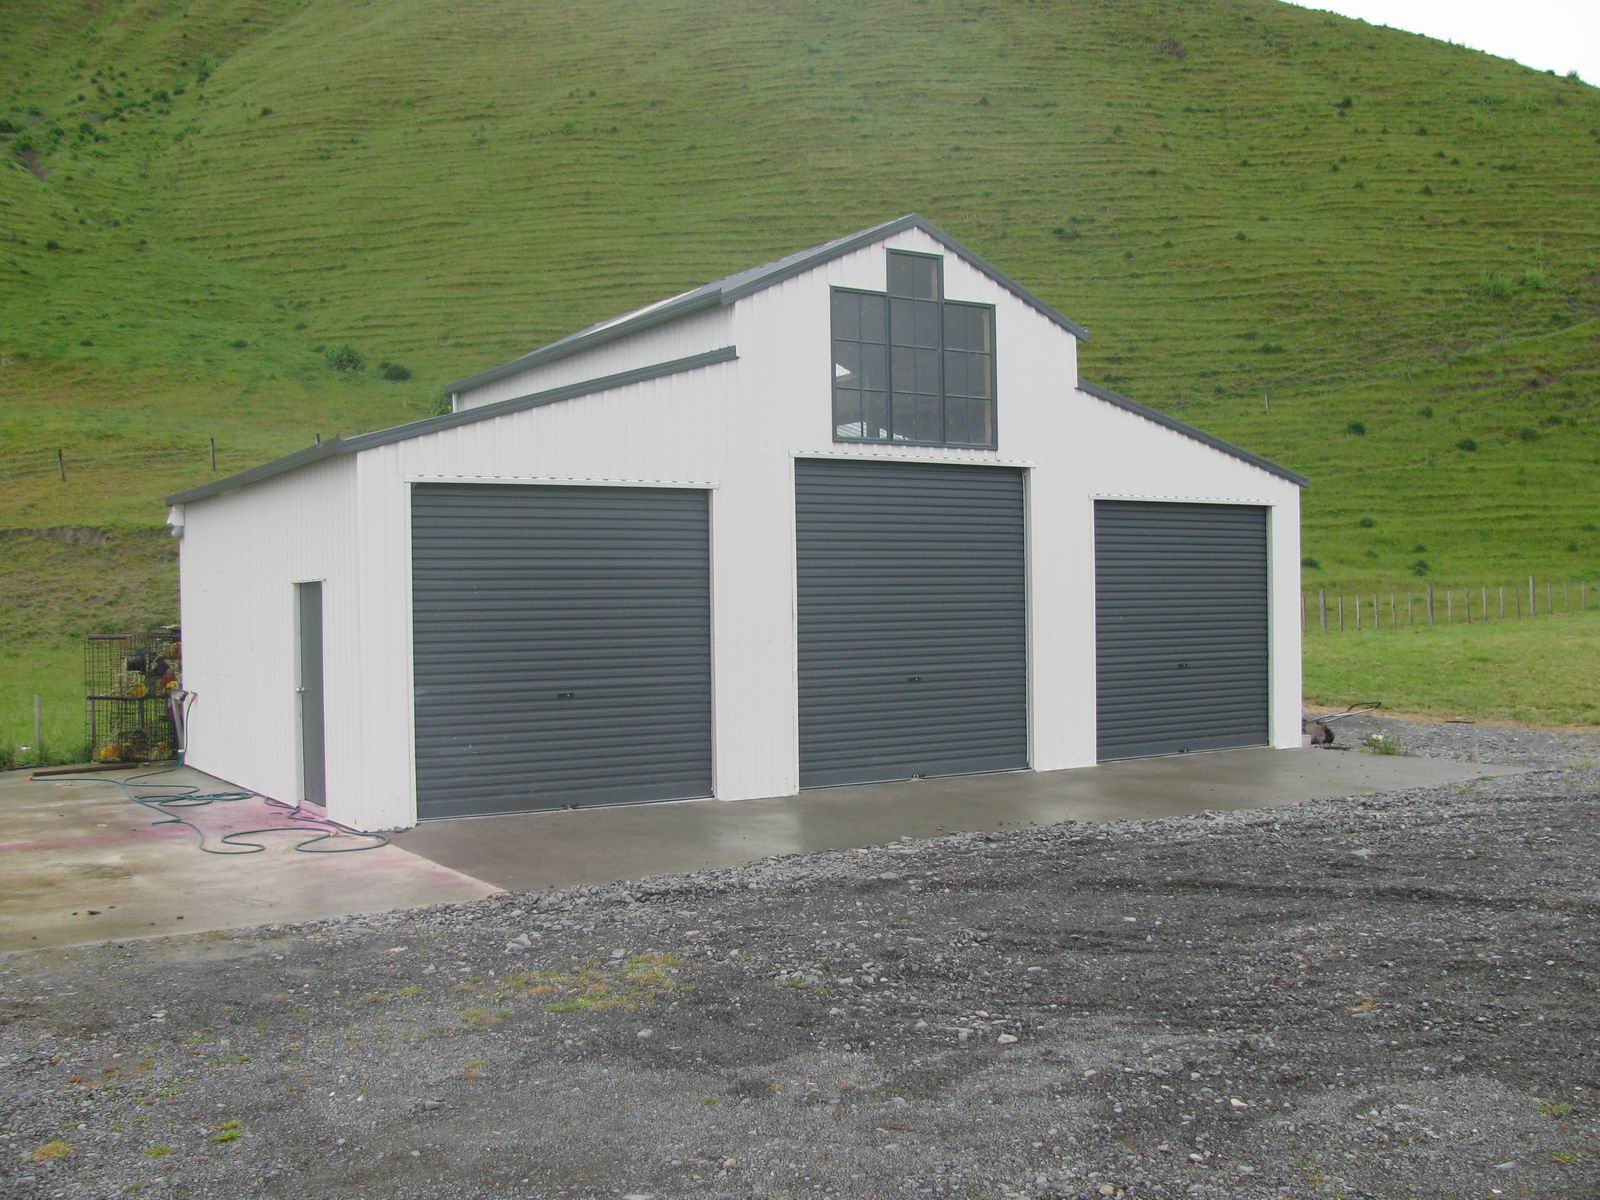
Station 62 Maraetotara Fire Station Photo by Mark Stout |
|
|
|
|
|
Station 63 Waipawa Fire Station |
Station 64 Onga Onga Fire Station |
Station 65 Maraekakaho Fire Station Photo by Mark Stout |
|
|
|
|
|
Station 66 Tikikino Fire Station |
Station 67 Dannevirke Fire Station |
Station 67 Dannevirke Fire Museum |
|
|
 |
 |
|
Station 68 Norsewood Fire Station |
Station 69 Ormondville Fire Station |
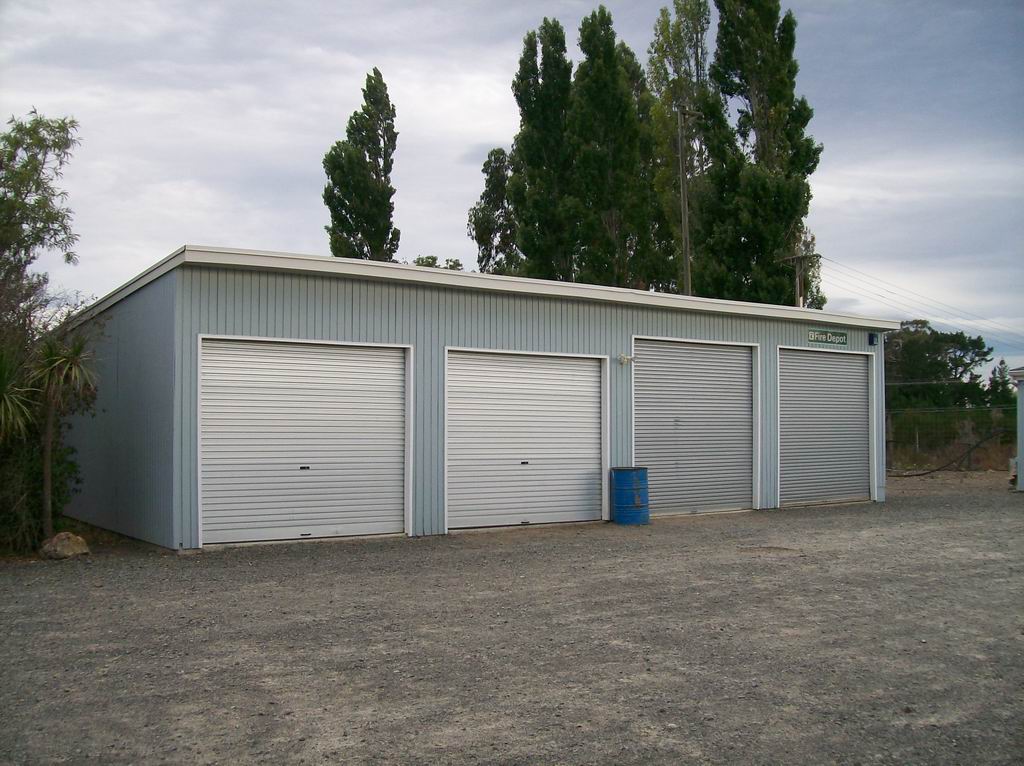
Station 70 Te Uri Fire Station |
|
|
Photo Required |
|
|
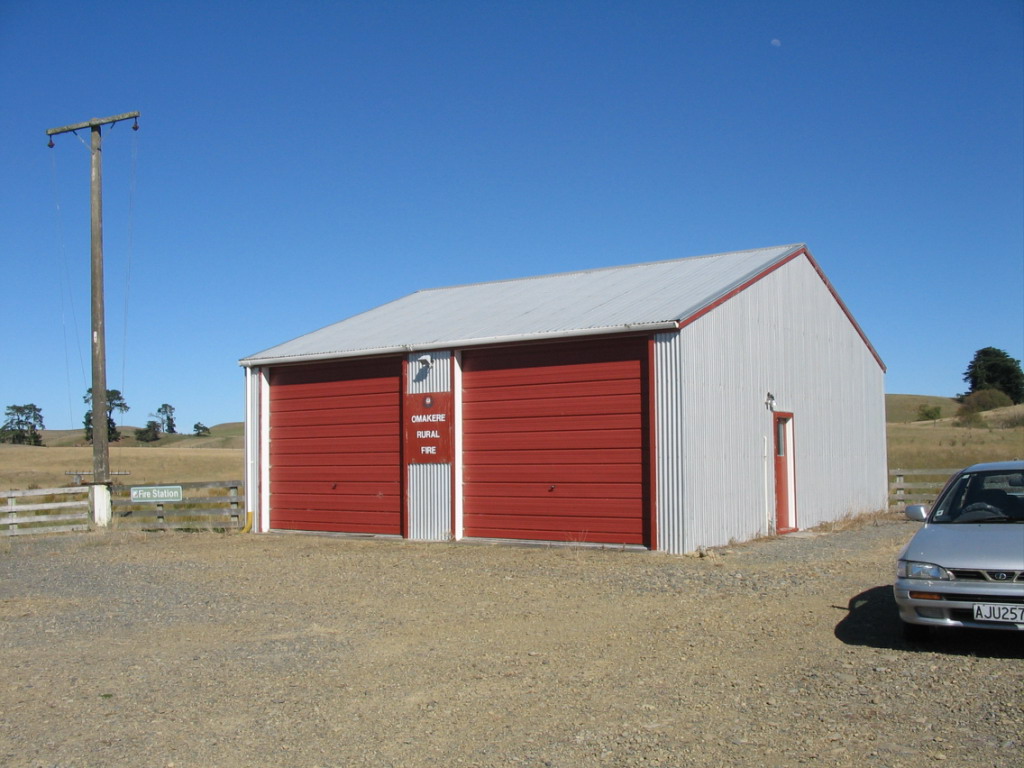
Station 71 Omakere Fire Station Photo by Peter Ashley |
Station 71 Matapiro Fire Station |
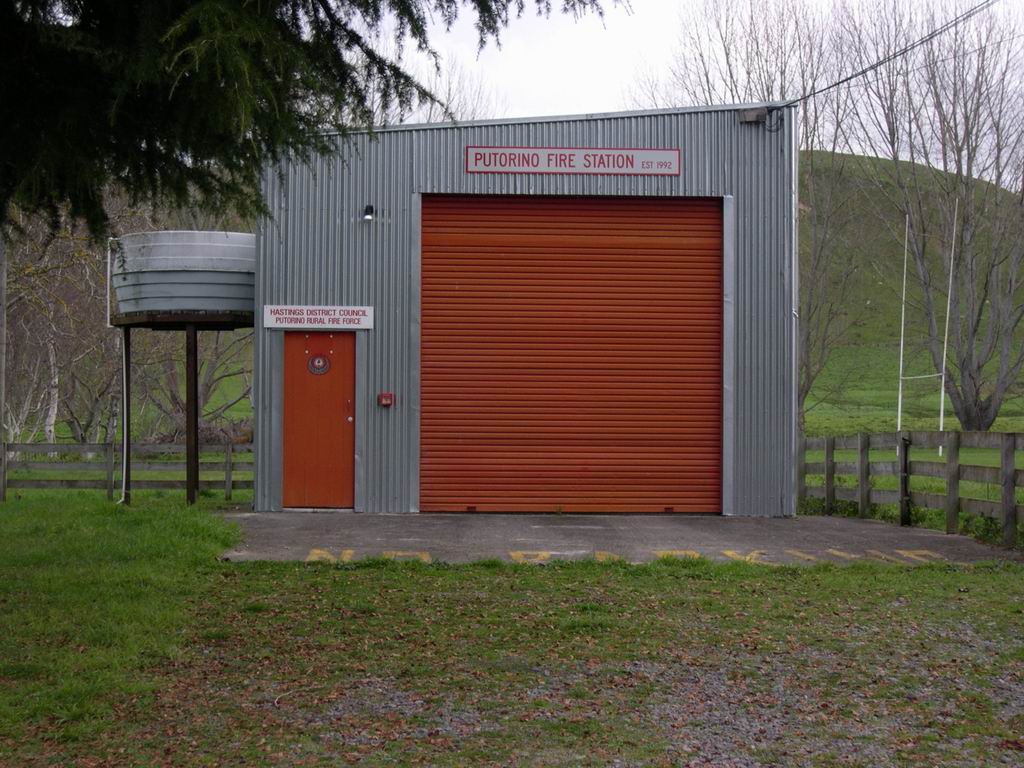
Station 72 Putorino Fire Station |
|
|
|
|
|
Station 73 Herbertville Fire Station |
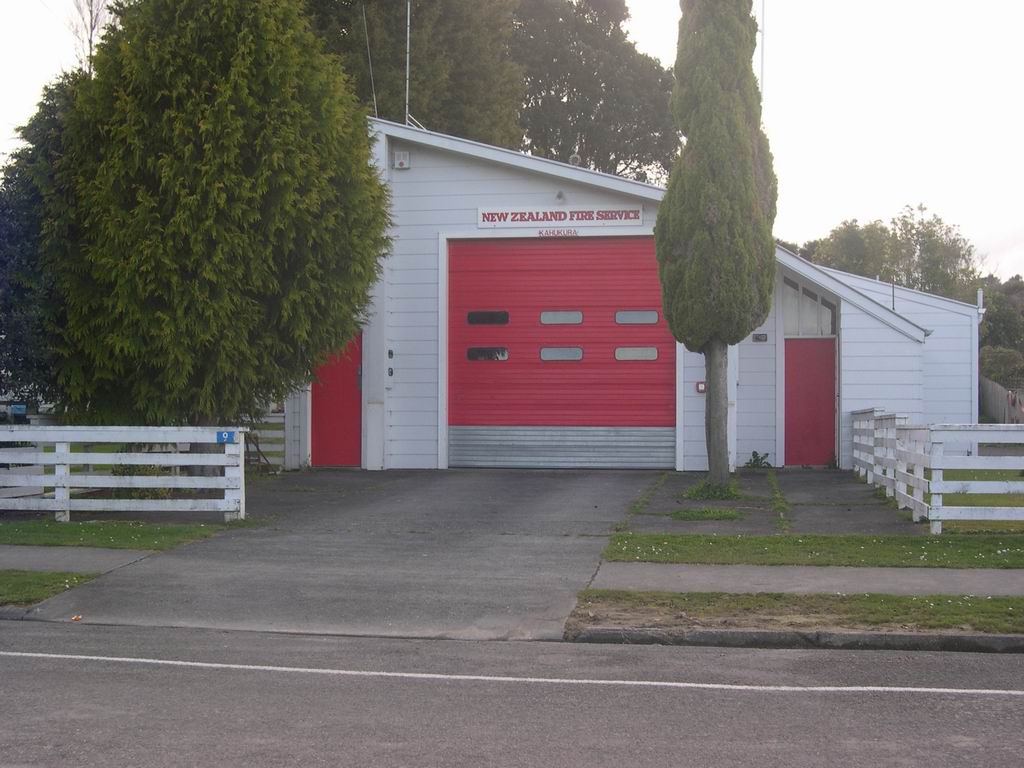
Station 74 Flemington Fire Station Photo by Peter Ashley |
Station 74 Puketitiri Fire Station Photo by Mark Stout |
|
|
 |
 |
|
Station 75 Waimarama Fire Station Photo by Peter Ashley |
Station 76 Rissington Fire Station Photo by Mark Stout |
Station 76 Weber Fire Station Photo by Mark Stout |
|
|
 |
|
|
Station 77 Wallingford Fire Station Photo by Peter Ashley |
Station 78 Gisborne Rural Fire Station Photo by Mark Stout |
Station 79 Elsthorpe Fire Station Photo by Peter Ashley |
|
|
 |
|
|
Station 79 Ruakituri Fire Station Photo by Warren Frazer |
Station 80 Tiniroto Fire Station Photo donated by Dave Ions |
Station 81 Gisborne Fire Station Photo donated by Dave Ions |
 |
 |
|
|
Station 82 Manutuke Fire Station |
Station 83 Patutahi Fire Station |
Station 84 Matawai Fire Station Photo donated anonymously |
 |
 |
|
|
Station 85 Te Karaka Fire Station Photo donated by Grant Watson |
Station 86 Whatatutu Fire Station Photo donated by Grant Watson |
Station 87 Tologa Bay Fire Station |
 |
 |
|
|
Station 88 Ruatoria Fire Station |
Station 89 Te Araroa Fire Station |
Station 90 Hicks Bay Fire Station |
|
|
|
 |
|
Station 91 TikiTiki Fire Station |
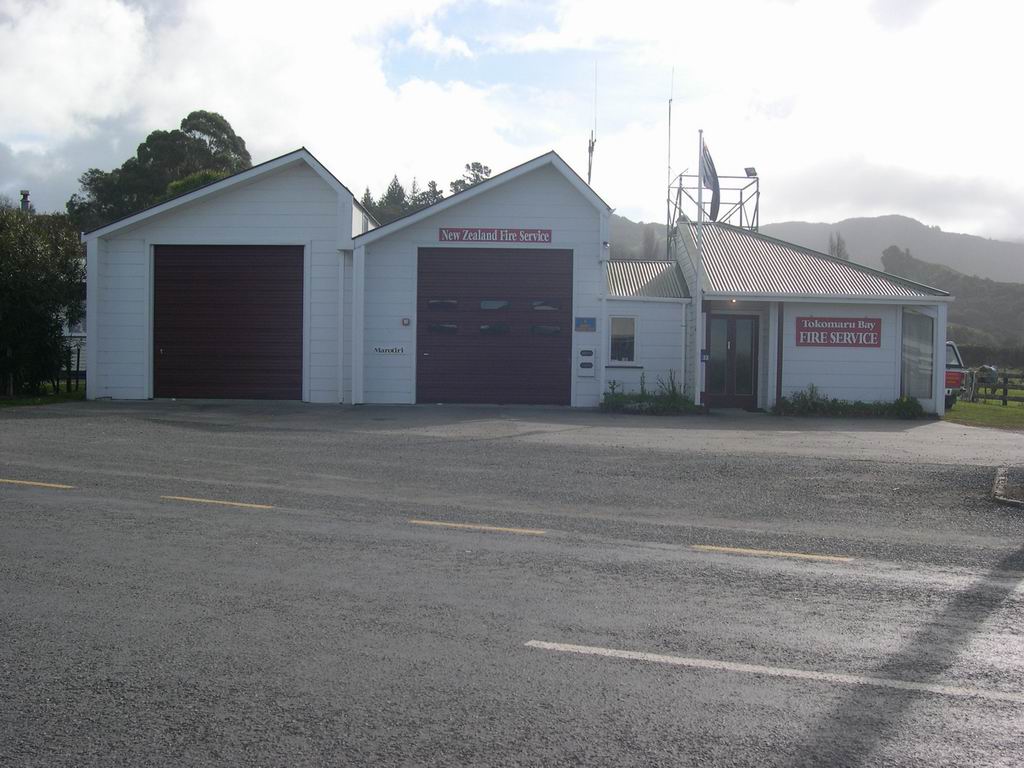
Station 92 Tokomaru Bay Fire Station |
Station 93 Te Puia Springs Fire Station |
|
|
|
|
|
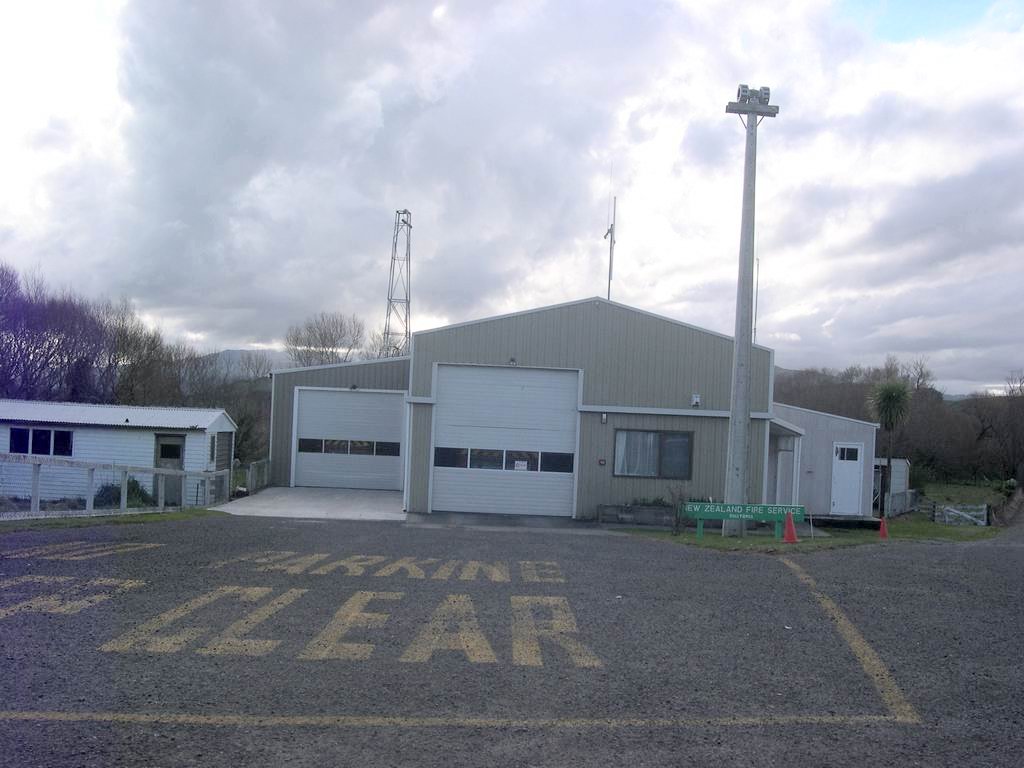
Station 94 Wairoa Fire Station Photo donated by Grant Watson |
Station 95 Nuhaka Fire Station |
Station 97 Mahia Fire Station Photo donated by Dave Ions |
 |
 |
 |
|
Station 98 Tuai Fire Station Photo donated by Dave Ions |
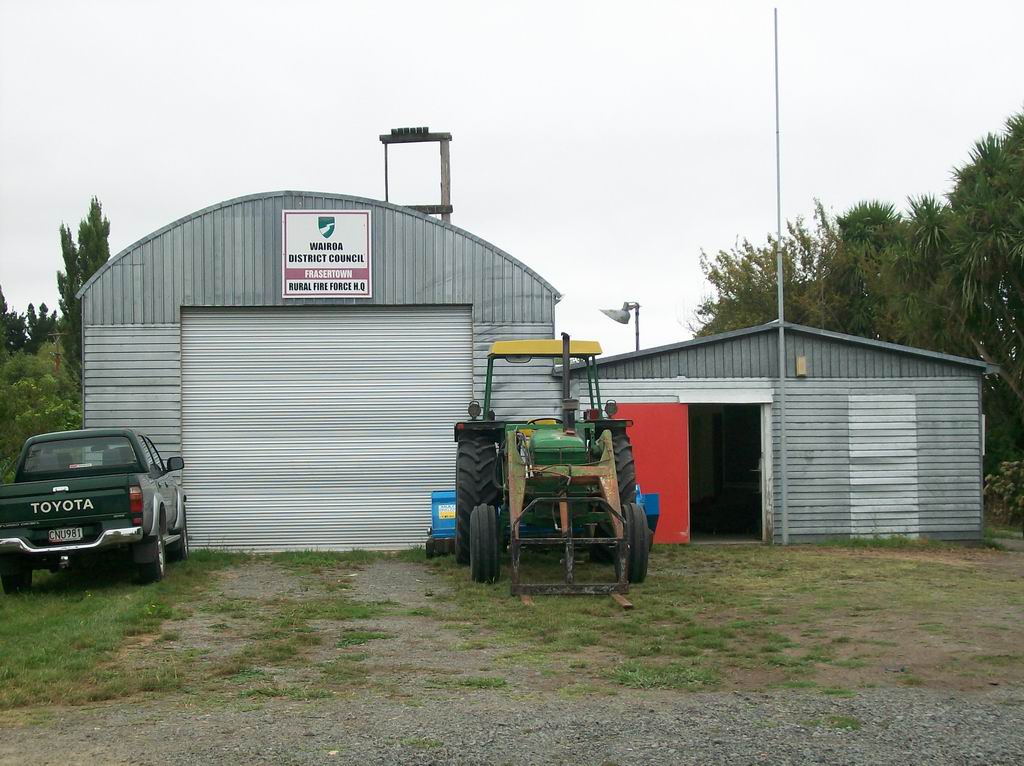
Tararua Rural Fire Depot Photo donated by Eric Bodell |
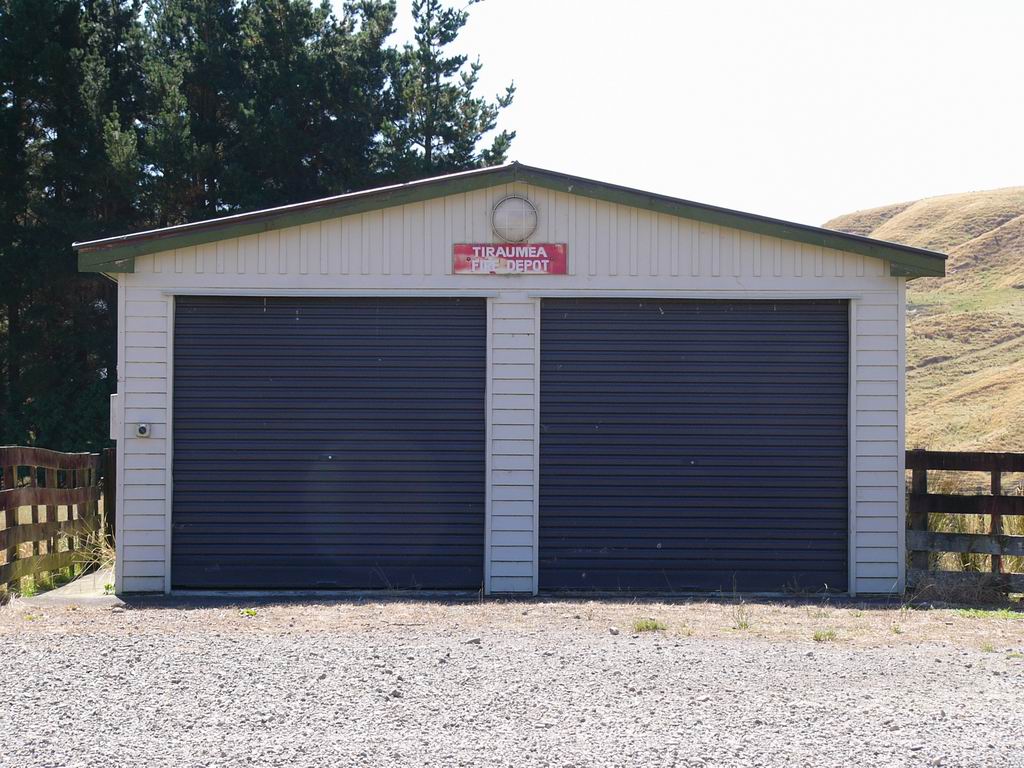
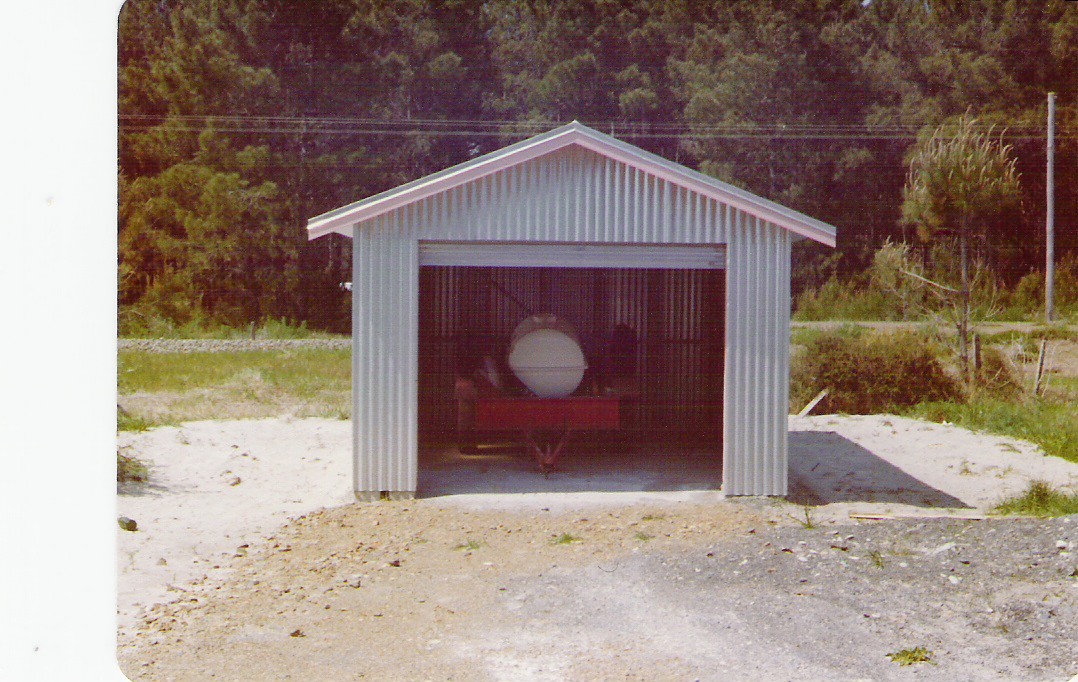
Tiraumea Fire Depot |
 |
 |
 |
|
Sherenden Fire Stn Photo by Don McErlich |
Chatham Island Fire Stn Photo by Richard Tame |
Chatham Island DOC Fire Store Photo by Richard Tame |
 |
 |
 |
|
Te Pohue Fire Stn (PanPac) Photo by Mark Stout |
Torran Fire Station Photo by Mark Stout |
Kereru Fire Station Photo by Mark Stout |
 |
 |
 |
|
Onga Onga DOC Fire Station Photo by Mark Stout |
Hatuma Rural Fire Station Photo by Simon Osborne |
Aramoana Rural Fire Station Photo by Peter Ashley |


Ex. Eastern Region Fire Stations
|
|
|
 |
|
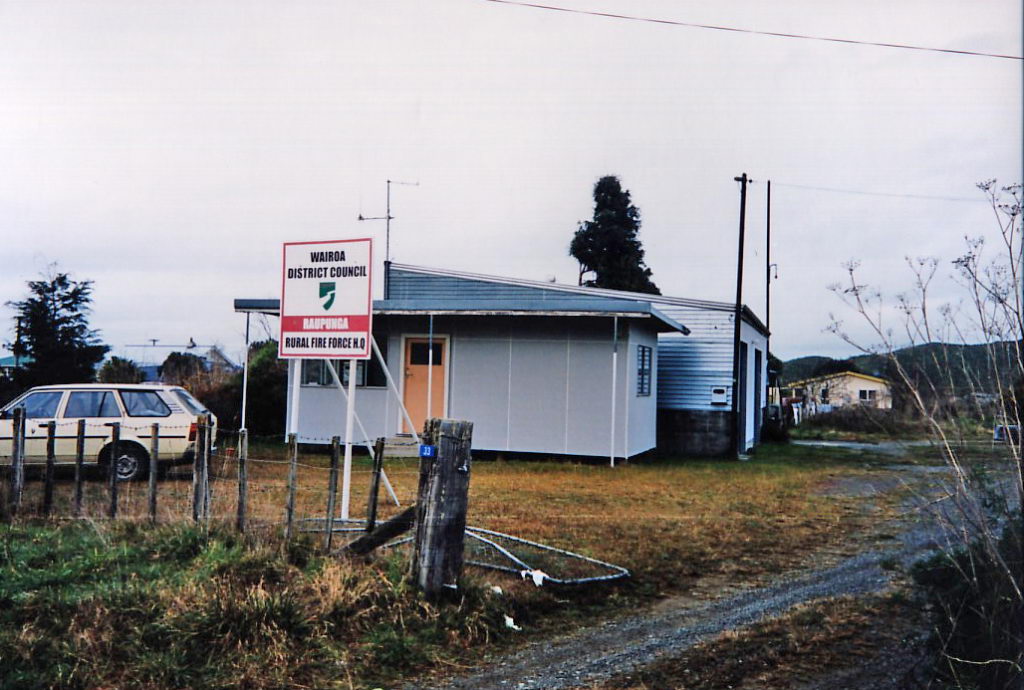
Station 99 Raupunga Fire Station Photo by Warren Frazer |
Ex Otane Fire Station Photo by Warren Frazer |
Ex. Wallingford Fire Station Photo by Peter Ashley |
 |
 |
 |
|
Ex. Elsthorpe Fire Station Photo by Peter Ashley |
Ex. Hastings Fire Station Photo taken 1981 Photo by Ian King |
Ex. Maraekakaho Fire Station Photo by Mark Stout |
 |
 |
 |
|
Ex. Tuai Fire Station Photo by Mark Stout |
Ex. Weber Fire Station Photo by Derek Quinn |
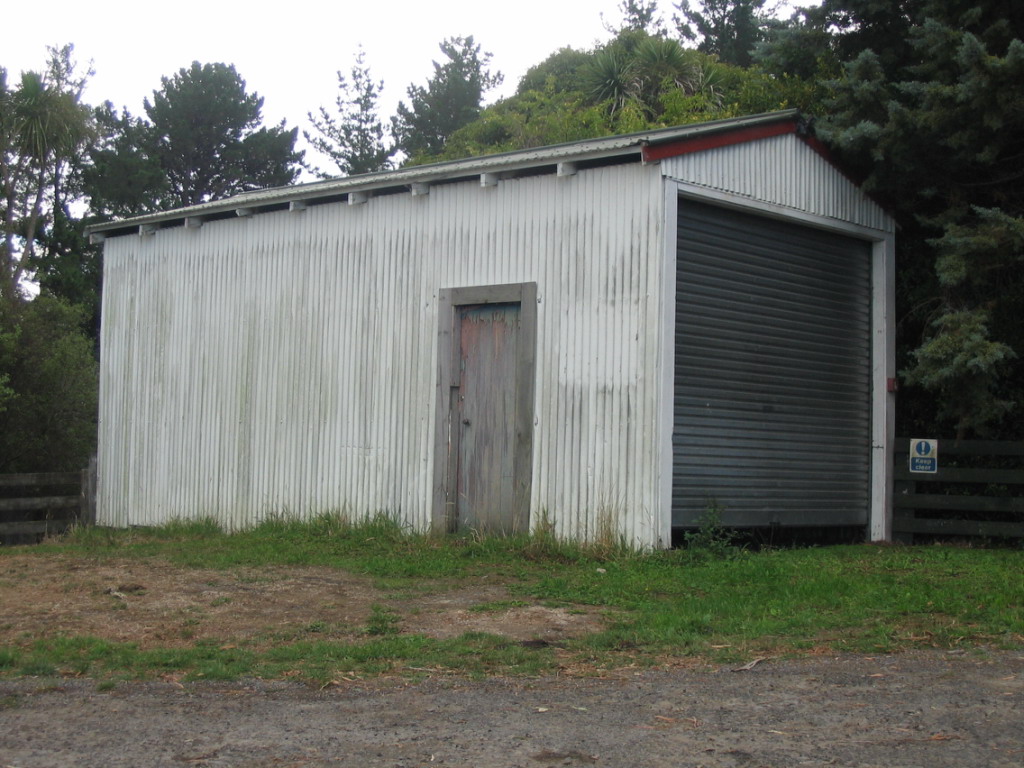
Ex. Frasertown Fire Station Photo by Mark Stout |
 |
 |
 |
|
Ex. Dannevirke Fire Station Photo donated by Stephen Hansen |
Ex. Dannevirke Fire Station Photo by Stephen Hansen |
Ex. Napier Fire Station - 1902 Photo donated by Robert Beeston |
 |
 |
 |
|
Ex. Gisborne Fire Station - 1979 Photo by Peter Blackmore |
Ex. Ruatoria Fire Station - 1979 Photo by Peter Blackmore |
Ex. Ruatoria Fire Station - 1950 Photo by Peter Blackmore |
 |
|
|
|
Ex. Te Puia Springs Fire Station - 1980 Photo by Peter Blackmore |
Ex. Tologa Bay Fire Station - 1980 Photo by Peter Blackmore |
Ex. Tologa Bay Fire Station Photo by Peter Blackmore |
|
|
|
 |
|
Ex. Tokomaru Bay Fire Station - 1976 Photo by Peter Blackmore |
Ex. Te Karaka Fire Station - 1976 Photo by Peter Blackmore |
Ex. Matawai Fire Station - 1976 Photo by Peter Blackmore |
 |
 |
|
|
Ex. Mahia Fire Station - 1979 Photo by Peter Blackmore |
Station 58 (Temporary) Waipukurau Fire Station - 2010 Photo by Peter Ashley |